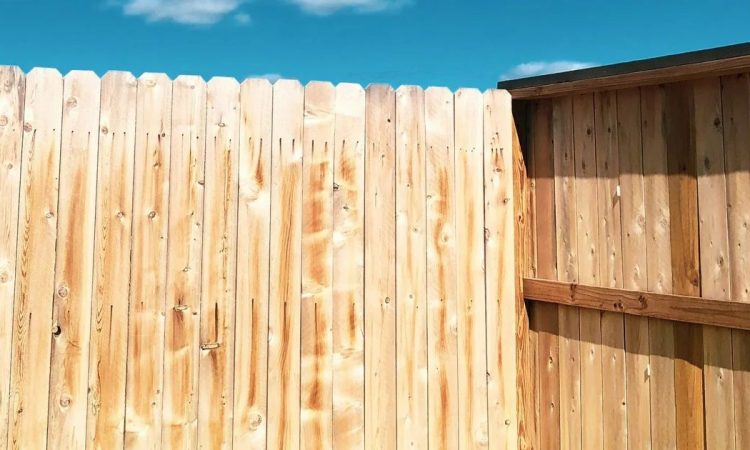

Building a garden fence is a realistic weekend project for most confident DIYers. You need a few basic tools, a clear plan and some patience. This guide explains how to build a fence from scratch, from checking the rules to fixing the final panel. It covers materials, costs and the mistakes that make fences lean or rot early. We also explain how to keep posts straight, which is where most beginners struggle. Whether you want standard panels or a closeboard boundary, the core steps are the same. Get the groundwork right and your fence should last 15 years or more. First, though, check what the law allows.
Check the Rules Before You Build a Fence
Most garden fences in England do not need planning permission. You can usually build one up to two metres high in a back garden. Next to a road, the limit drops to one metre.
There are exceptions. Listed buildings, conservation areas and some new-build estates have extra restrictions. Your deeds may also limit height or style. If you are unsure, ask your local council or check the Planning Portal. Rules in Scotland, Wales and Northern Ireland differ.
Ownership matters too. Your title deeds or Land Registry plan may show who owns each boundary. The old “left-hand fence” rule is not reliable. Talk to your neighbour before you start. If you are replacing a shared fence, agree the cost and design with your neighbour in writing first. A friendly chat prevents most disputes.
Which Type of Fence Should You Choose?
Panel fencing is the quickest option for beginners. Lap panels are affordable and overlap horizontally, though they are less sturdy than heavier styles. Closeboard fencing uses vertical boards fixed to horizontal rails. It is stronger and more private, but it takes longer to build. Picket fences suit front gardens and look tidy, yet they offer little privacy. Slatted designs let wind pass through, which helps in exposed spots.
Think about privacy, wind, budget and time. For most back gardens, a pressure-treated panel fence on concrete posts balances cost and lifespan well.
What Materials and Tools Do You Need?
The right materials decide how long your fence lasts. Here is a basic shopping list for a panel fence.
- Fence panels, usually 1.83 metres wide
- Posts: concrete lasts longest, while treated timber costs less
- Gravel boards to keep panels off damp soil
- Post-mix concrete or ballast and cement
- Galvanised or stainless steel screws
- Post caps to shed rain
You will also need a spirit level, tape measure, string line, spade, cordless drill, saw and some pegs. A second pair of hands makes setting posts far easier. Timber posts buried in soil should be treated to use class UC4, which means they are suitable for ground contact.
How to Build a Fence Step by Step
Allow a weekend for a short run and longer for a whole garden. Follow the steps in this order.
Step 1: Plan and Mark the Line
Walk the boundary and decide where the fence will go. Hammer a peg at each end and run a taut string between them. Keep the string just inside your boundary. Panels are usually 1.83 metres wide, so space posts about 1.9 metres apart, centre to centre. Test this with a real panel first. Mark each hole with a peg.
Step 2: Dig the Post Holes
For a 1.8 metre fence, use 2.4 metre posts and dig holes about 600mm deep. Make each hole roughly three times as wide as the post. Check for buried pipes and cables before digging. Put a few centimetres of gravel in the base for drainage.
Step 3: Set the Posts
Start with the end posts. Stand each in its hole, check it is upright on two sides with a spirit level, and brace it with timber offcuts. Pour in post-mix concrete, tamping it down to remove air pockets. Slope the top away from the post so rainwater runs off. Then run a string between the end posts and set the middle posts to match. Let the concrete cure for at least 24 hours before attaching anything. Wear gloves and eye protection, and treat wet cement with care because it can irritate skin.
Step 4: Fit Gravel Boards and Panels
Fix the gravel boards first. They lift the panels above the soil, so damp cannot rot the bottom edge. Rest the first panel on small blocks, check it is level, then fix it with screws, panel clips or the post grooves. Work along the line one panel at a time. Add post caps last.
Step 5: Finish and Protect
Treat any cut edges with wood preservative. Once new timber has dried, apply a water-based fence stain on a dry day. Clear soil from the base so air can circulate.
How Do You Build a Fence on a Slope?
Sloping ground needs a slightly different approach. Stepped panels stay level and drop in stages down the hill. You then fill the triangular gaps beneath with gravel boards cut to size. Racked panels follow the ground and suit gentle gradients, though not every panel type can be racked. Either way, plan your post heights before you start. Fixing mistakes later is hard.
Should You Build It Yourself or Hire a Professional?
A straight panel fence on flat ground suits DIY. Digging, concreting and lifting need physical effort, but the skills are simple. Hire a professional for long boundaries, steep slopes, tall fences, retaining walls or awkward access. Contractors also work faster, which matters if a section is blown down and your garden is open. Whatever you decide, ask for written quotes that list materials, labour and waste removal.
How Much Does It Cost to Build a Fence?
Costs depend on height, materials and boundary length, so check current prices at local timber merchants. As a rough guide, a 1.83 metre panel often costs between £25 and £50. Posts, gravel boards, concrete and fixings add to that. A 10-metre run needs about six panels and seven posts. Building it yourself saves labour, which usually makes up a large share of a professional quote. Remember to budget for removing and disposing of an old fence if you are replacing one. If you hire a fencer, get at least three quotes.
Common Mistakes When You Build a Fence
Most failures come from a few avoidable errors.
- Shallow holes. Posts buried too shallowly wobble in strong wind.
- Skipping gravel boards. Panels sitting on soil absorb moisture and rot within a few years.
- Runny concrete. A mix that is too wet weakens the base. Aim for a firm, workable texture.
- Ignoring wind. In exposed gardens, solid panels act like sails. Slatted designs cope better.
Pick a dry spell, too. Wet or frozen ground makes digging and concreting miserable.
How Do You Maintain a Fence?
Good upkeep adds years to a fence. Re-treat timber every one to two years with a fence preservative or stain, following the product instructions. Check posts for wobble and softness after storms. Keep plants and compost heaps away from panels, because trapped moisture speeds up rot. Replace damaged panels quickly before neighbouring ones suffer. A concrete spur or repair post can rescue a rotten timber post without replacing the whole run.
Frequently Asked Questions
Do I need planning permission to build a fence in the UK?
Usually not in England for fences up to two metres in back gardens, or one metre beside a road. Listed buildings, conservation areas and deed restrictions can change this, so check first.
How deep should fence posts be?
Bury at least a quarter to a third of the post. For a 1.8 metre fence, that means a 2.4 metre post set about 600mm deep in concrete.
How long does it take to build a fence?
A confident DIYer can usually fit a 10-metre panel fence over a weekend. Concrete needs at least 24 hours to cure before panels go on, so plan around that.
What is the cheapest way to build a fence?
Treated timber posts with lap panels usually cost least. Concrete posts cost more upfront but last longer, so they may prove better value over time.
Conclusion
Learning how to build a fence comes down to careful planning and solid foundations. Check the rules and boundary ownership first, then choose a style that suits your garden, privacy needs and budget. Dig deep holes, set straight posts in firm concrete and keep panels off the soil with gravel boards. Plan carefully on slopes, and look after the timber with regular treatment. Done properly, a DIY fence saves money and should serve your garden for many years. Take your time, and the result will repay the effort.